Managing user group information
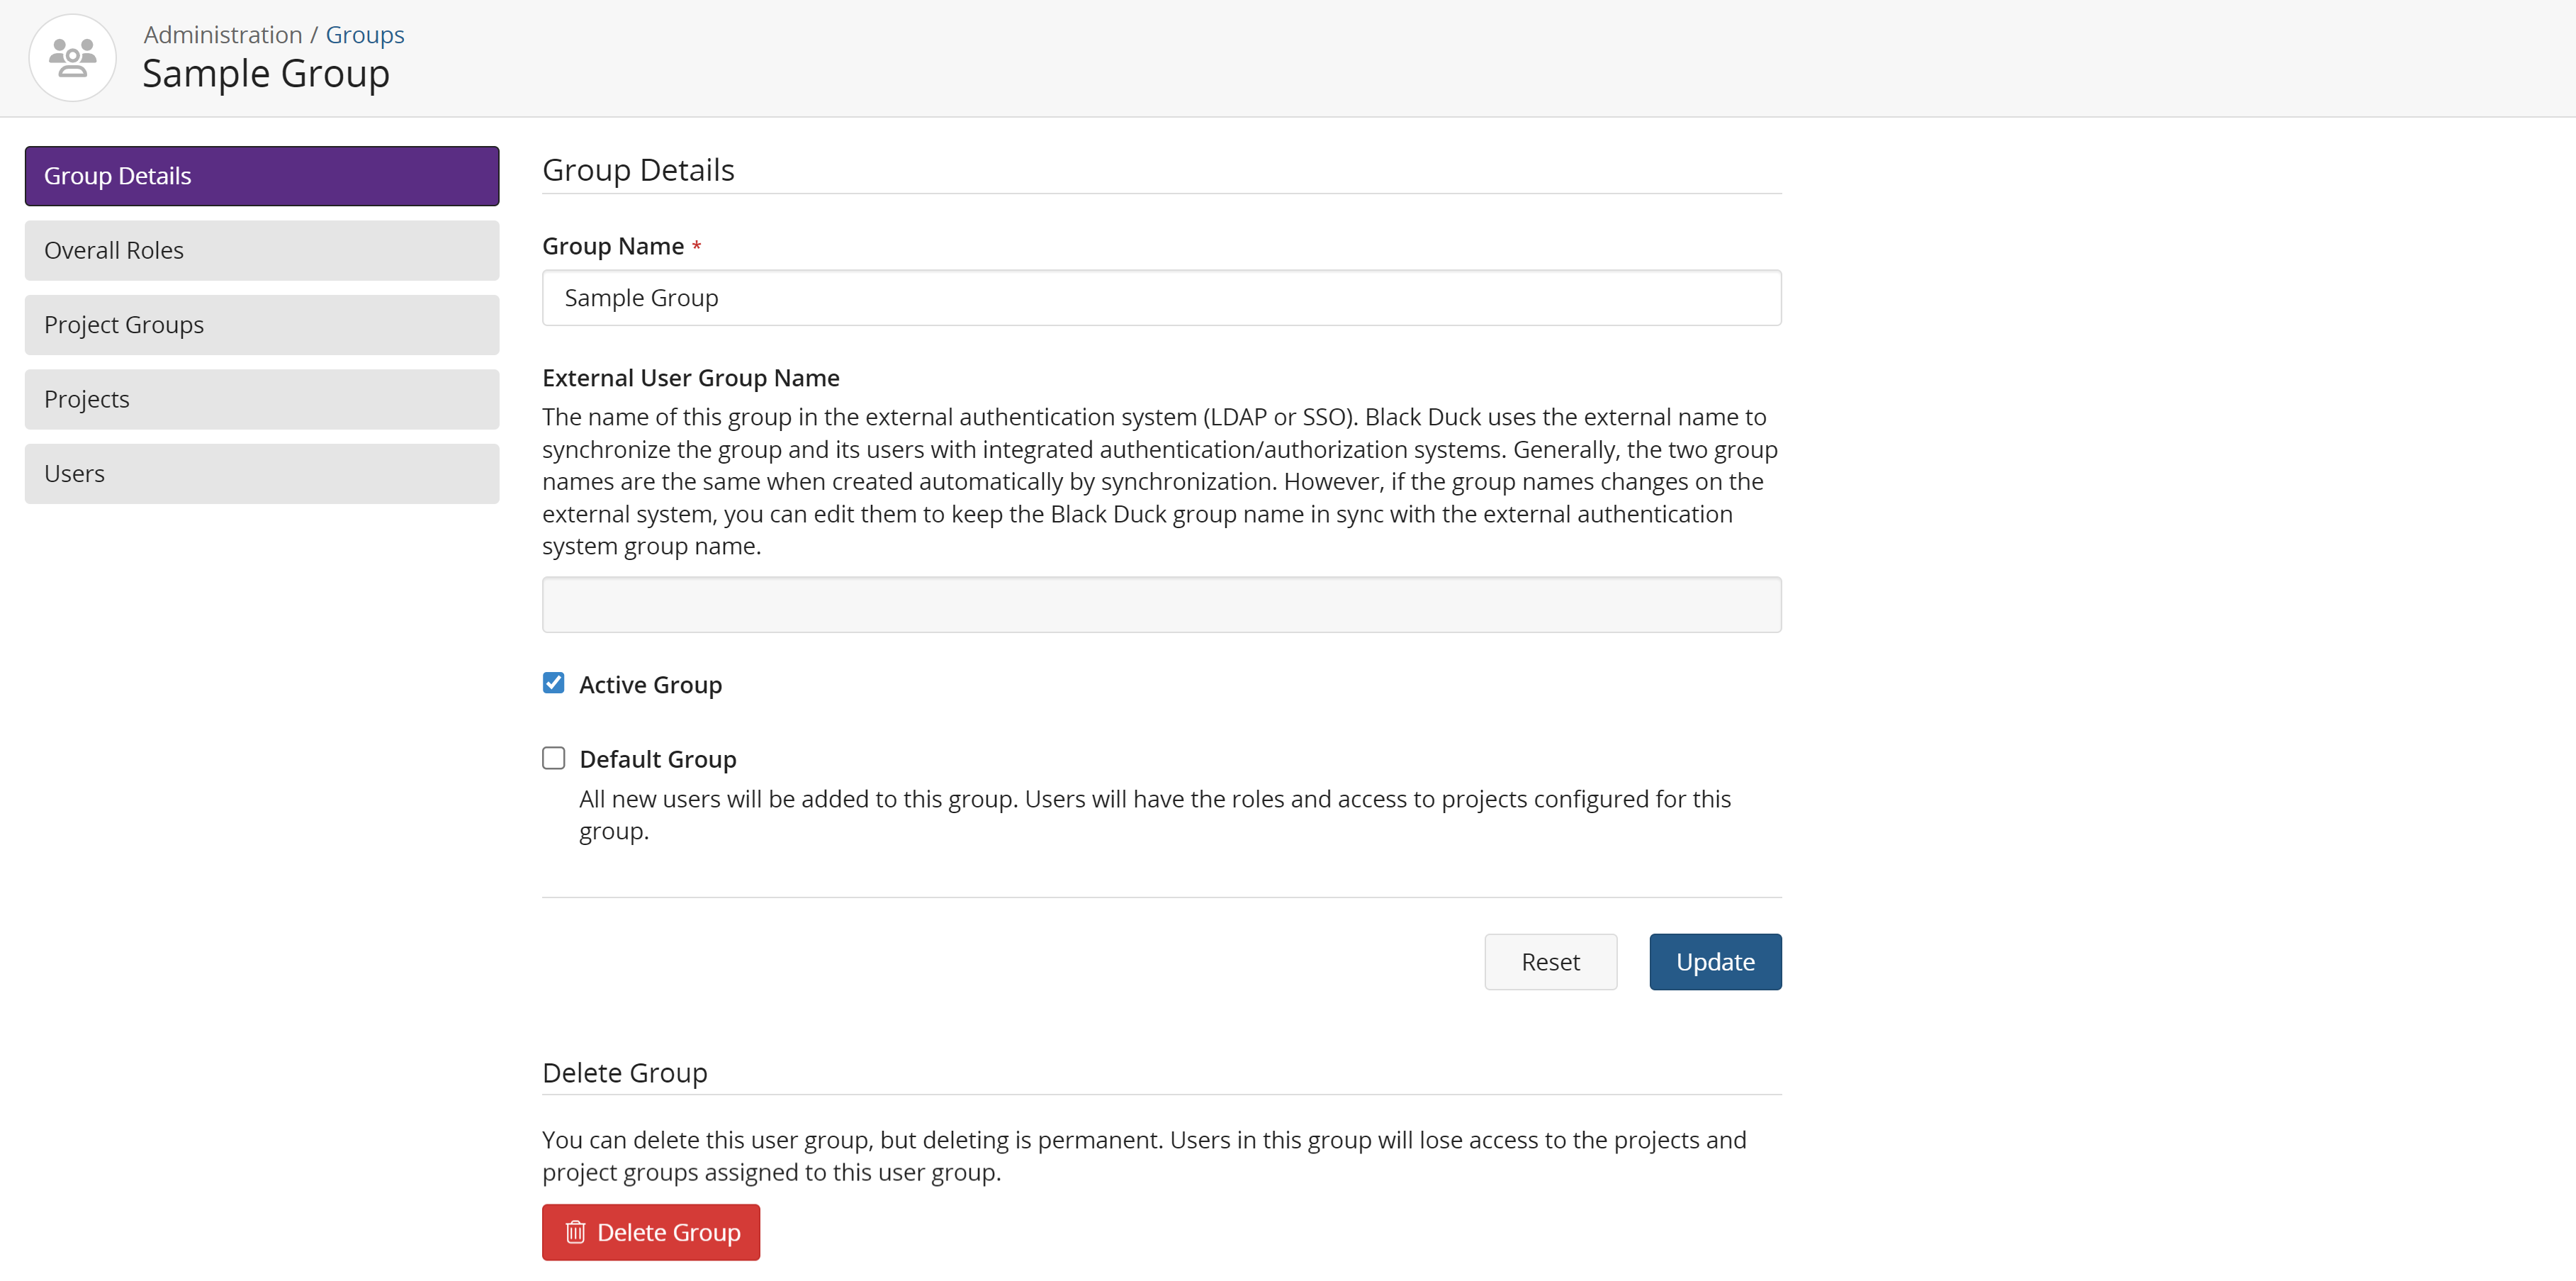
After you have created a user group, you can change the user group name, status (active/inactive), and/or whether this is a default group.
To manage user group information:
-
Log in to Black Duck.
-
Click
 → Groups.
-
Find the name of the group whose name you want to modify:
-
Add the Inactive option to the User Groups Status filter to include inactive groups.
-
Sort the list of group names by selecting the column. An arrow next to the column name indicates the direction the list is sorted.
-
Use the pagination bar at the bottom of the list to go to the appropriate page if there are more groups than are listed on this page.
-
-
Select the group name you want to edit to display the Group Name page.

-
On the Group Details page, type the new group name, change the status, or change whether this is a default group.
Note that if you enabled group synchronization when configuring LDAP or SAML, the name of this group in the external authentication system (LDAP or SSO) appears in the External Group Name field. Black Duck uses the external name to synchronize the group and its members with integrated authentication/authorization systems. Generally, the two group names are the same when created automatically by synchronization. However, if the group name changes on the external system, you can edit the name to keep the Black Duck group name in sync with the external authentication system group name.
-
Click Save to save the changed information.
-
Use the other sections on this page to:

