Creating a custom field
The process to create a custom field consists of:
-
Creating the field as described below.
-
Activating the field.
-
Determining the location of the custom field when shown in the UI.
You must have the Custom Fields Administrator role to create and manage custom fields.
To create a custom field:
-
Click
 and then select Custom
Fields.
and then select Custom
Fields.The Custom Fields page appears.
By default, the BOM Component tab is selected.
-
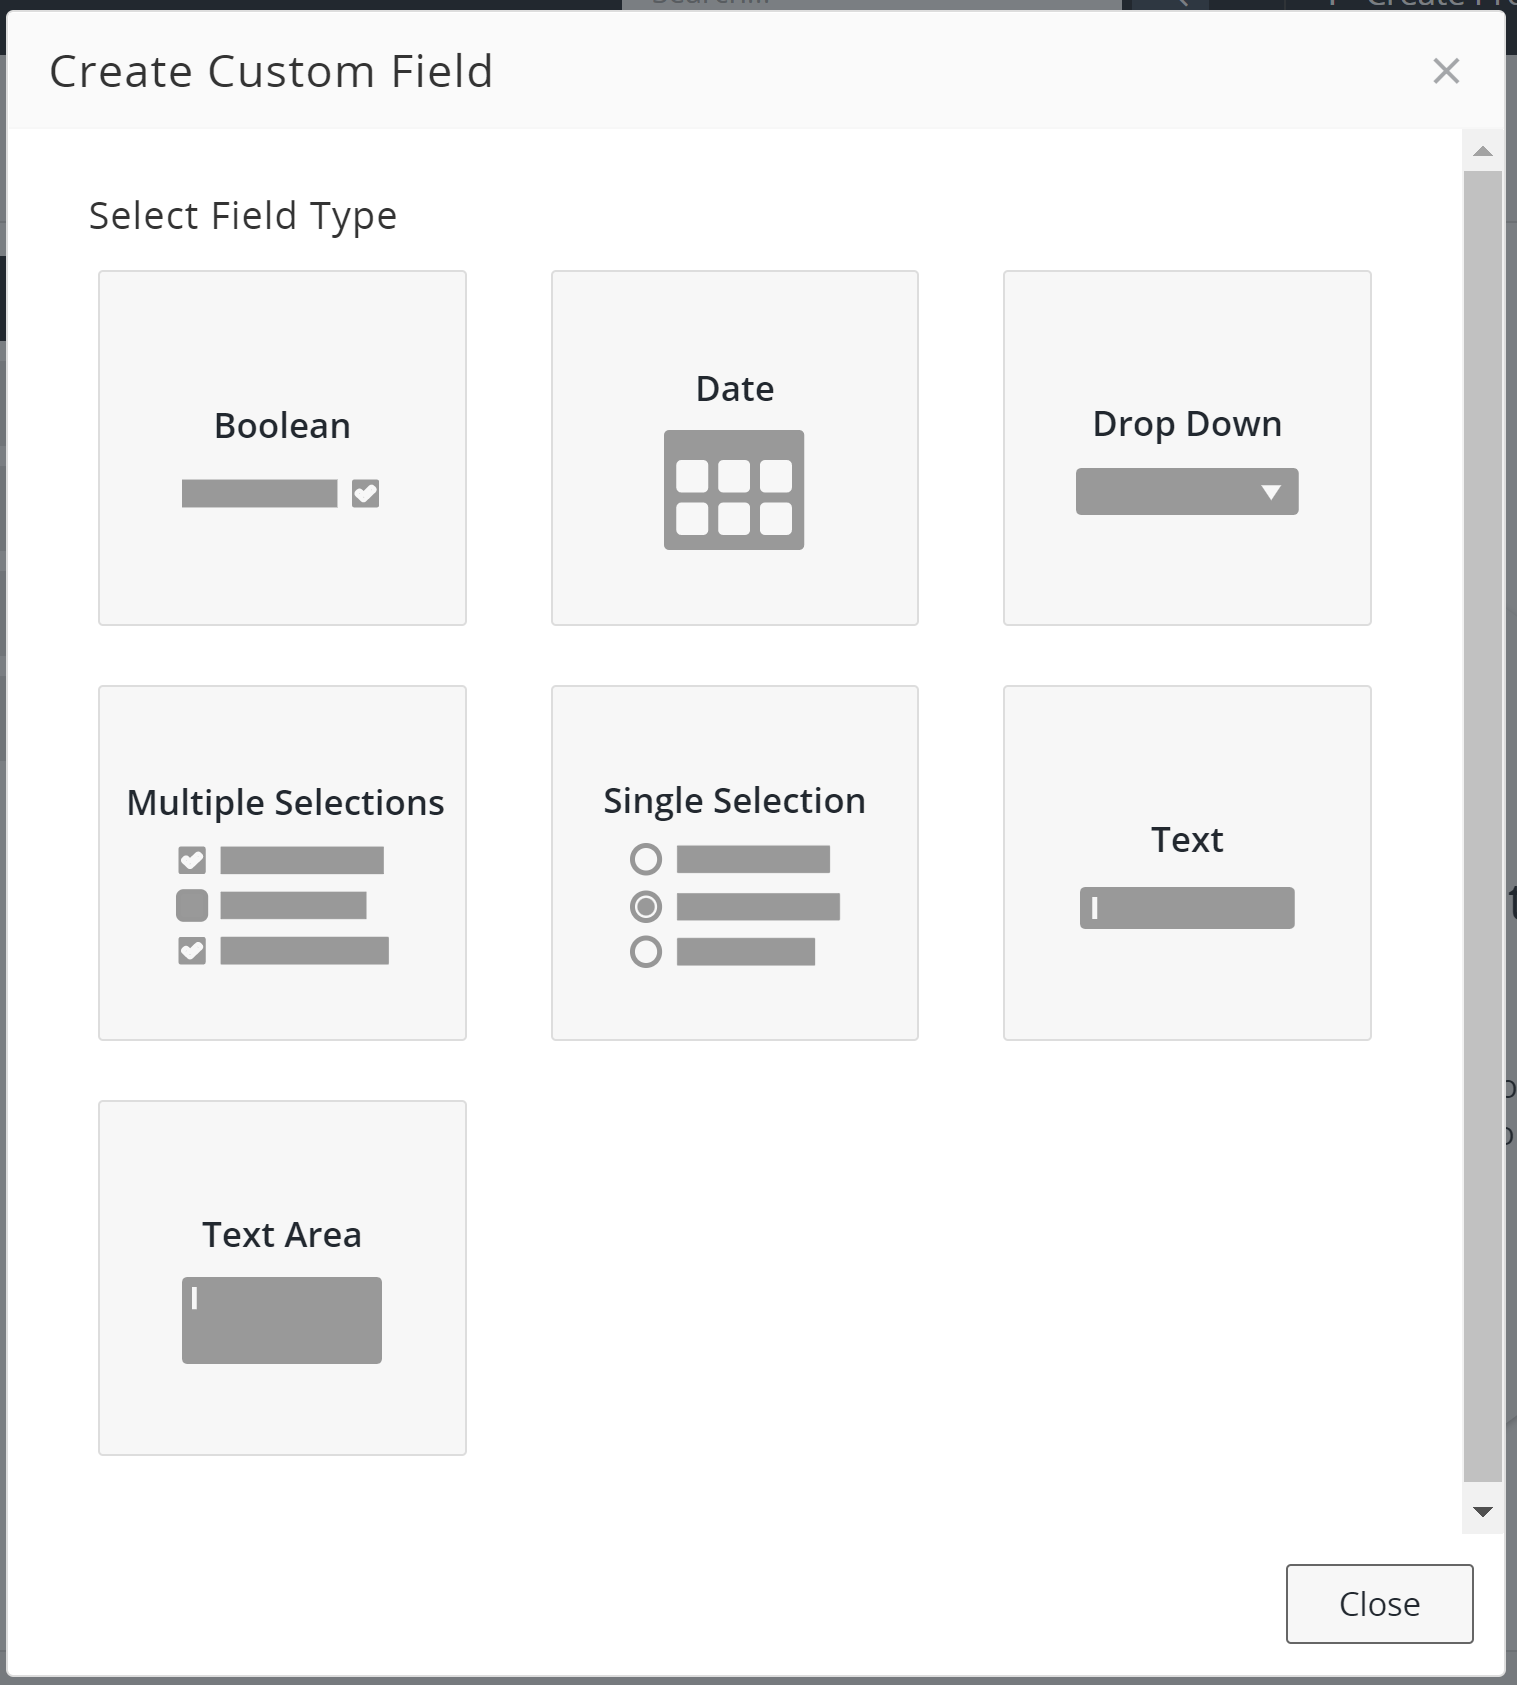
Select the type of custom field you wish to create (such as for a component or project) and click Create to display the Create Custom Field dialog box.
- Select the type of custom field. The types of custom fields are:
Boolean. A drop-down list appears to the user from which they can select True or False. The user can clear the option after one is selected.
Date. A calendar appears to the user from which they can select a date.
Drop Down. A drop-down list appears to the user, from which they must select an option.
Multiple Selections. A list appears to the user, from which they can select one or more options.
Single Selection. A list appears to the user, from which they can select only one option. There is also an option to clear the selected value.
Text. A field appears to the user where they can enter text. There is no limit to the number of characters the user can enter for this field.
Text Area. A field appears to the user where they can enter a large amount of text. There is no limit to the number of characters you can enter for this area.
The Create Custom Field dialog box reappears with the required fields for the custom field type you selected.
- Regardless of the type of field you selected, all custom fields in the Create Custom
Field dialog box have these fields and options:
Label. Enter a label for this custom field. This label will appear to the user when viewing the settings for the project or project version. This field is required. Note that there is no limit to the number of characters for the label.
Description. Optionally, enter a description for this custom field. This description will appear to the user when viewing the settings for the project or project version. Note that there is no limit to number of characters for the description.
Make this field required/recommended. Select this option to indicate to users that information for this custom field is required/recommended.
Note that the display for this option changes depending on whether the Force Entry of Required Custom Fields is enabled. If Force Entry of Required Custom Fields is enabled, this option displays Make this field required. If Force Entry of Required Custom Fields is disabled, this option displays Make this field recommended.
While this indicates that the custom field is required, it acts more as a warning, as users can still view and save non-custom field information and information for non-required custom fields on the page without entering information for the required custom field.
Click Change Field Type to return to the previous dialog box, as shown in step 3. If you select this option, you will lose the information you entered in this dialog box.
- For the Drop Down, Multiple Selections, and Single Selection custom field types, use
the Field Options section to define the options for the user to select.
Enter text in the Value field. This is the text that the user sees when viewing the options.
By default, the dialog box shows only one value. Click Add Option to display an additional option. There is no limit to the number of options you can add.
Click
 to remove
the list item. If there is only one value, you cannot delete
it.
to remove
the list item. If there is only one value, you cannot delete
it.To rearrange the order that these options appear to your users, use
 , located to the left of the value, to drag and drop the option
to the correct location.
-
Click Save.
The field appears at the top of the table on the Custom Fields page.


